I'm back again with a step by step guide to building a layout from scratch. This time I used the decide now app to determine the way I put my page together. I have these points on my wheel of fortune:
*photo
*paper
*design
*story
*embellishments
*title
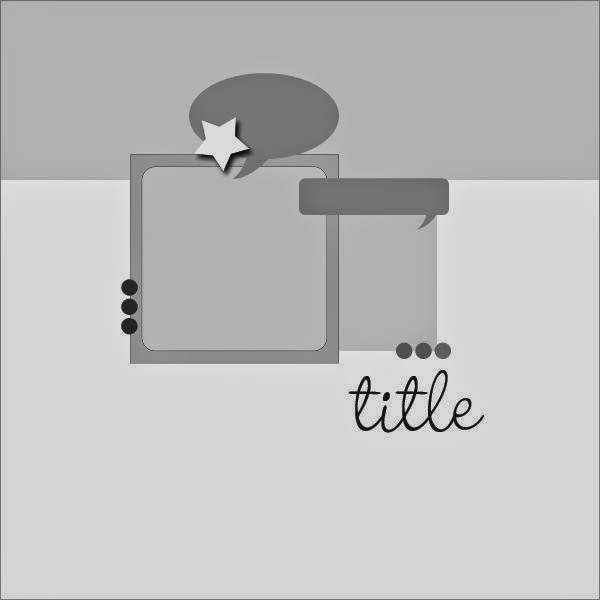
DESIGN:
I chose the sketch by Elle's studio blog that Wednesdays page came from, I wanted to show you how differently they would turn out.

PAPERS:
*when starting without a photo in mind you'd think choosing papers to start with would be easy?
I asked my mum to choose the first paper as after all, mums know best!?!?!?
* I started with the angel paper, and chose to use the angel part as the top section of the sketch as it had a nice focal point and a title starter.
* I chose a red/pink stripe to go with as it pulled in both colours from the blue title piece.
PHOTO:
I looked straight in my square photo box and it wasn't a hard choice once here. I knew it had to be girly and the one of Lola in mid air on the trampoline just clicked for me.
EMBELLISHMENT:

*the journaling card, again from the pack that I was sent by Claire, thankyou xxx
* I loved how the words went perfectly with the sub title on my paper and with the photo.

* washi tape, because I LOVE it. And every page should have a little :)
* I also included a month sticker and a little chipboard heart to make a cluster away from the main bulk of the page

* I chose a chalkboard label sticker instead of a circle, in black because it needed something to ground the photo.
* TOP TIP OF THE DAY: always add the date! Or at least the month or year.
*This is most important to me and a reason why I scrapbook. To keep record of when, why and how so don't forget to add it somewhere.

*more washi and an extra sentiment.
The vellum works as it's not too overpowering but is definitely there.
The embellishments tie everything together and play their part by leading your eye around the page.

THE STORY:
* usually boring and factual in my case but necessary.
* hidden journaling works well for those of us that aren't keen on our handwriting, or for those times when you might not want EVERYONE to read your feelings.
*washi tape is a hero! Here I've used it to make a hinge for my journaling card as well as a decorative feature
TITLE:
* well with all the words that happen to be on the papers already I felt no need to add an extra title. For me the card says it all.
THE FINAL PRODUCT:

As you can see I added a final splash of ink to the page, without it looked a bit naked, so that just fills a void without making too much of a statement.
* notice how I've splashed in a diagonal line from top to bottom. This brings your focus right through the centre of the photo.
Thanks for joining me once again.... see you again soon xxxxx
Very nice! Love that you post to FB so I remember to come see what you've been doing. :)
ReplyDeleteHi Emma, I noticed you said when you needed your photo you went to the "square box" does this mean you keep your photos in shapes?
ReplyDeleteHey Cheryl,
DeleteHa no not shapes. But in a former post I told everyone how I sorted my pics as there is a section for my Instagram pics that I print in square format so that I can get to them easily :)